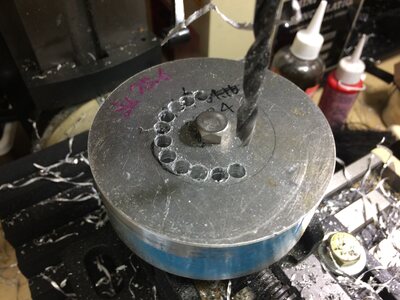
First, drill the holes.
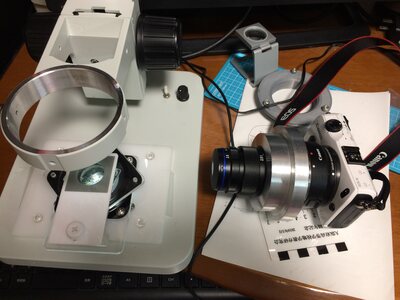
Focusing mount on the left.
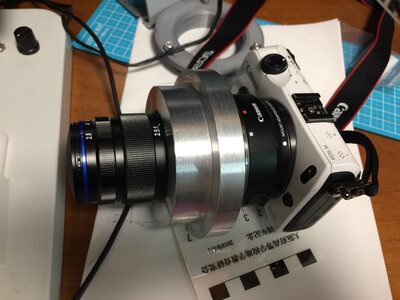
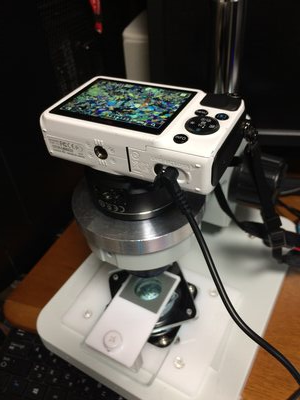
A lens mounted on EOSM with the adapter over it.
http://yossi-okamoto.net/Seagull_Factory/Olympus/Olympus_index.html
This
method was good because it was easy to use and had a wide field of
view, but I was still concerned about the image flow due to lens
aberration at the periphery of the image, not to mention the center. It seems that the optical system of the microscope was not so well designed. After
that, several combinations of microscopes and CCDs were tried, but they
did not improve the results, and I finally settled on the following
method.
1.LaowaマクロレンズとEOSM+76mm顕微鏡用架台
そんな経緯のあと.たどり着いたのはこの組み合わせ.
中国製Laowaマクロレンズ LAOWA 25mm F2.8 2.5-5X ULTRA MACRO
旧式ミラーレスCanon EOSM http://gdlp01.c-wss.com/gds/7/0300008787/01/eosm-im-ja.pdf
顕微鏡にするための架台
さらに架台に取り付けるパーツの製作
 |
 |
| 厚いアルミ廃材を加工してレンズアダプタを作る.まず穴あけ.
First, drill the holes. |
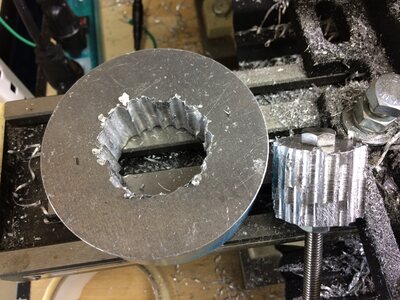
次に内部の取り除き.Next, remove the inside. |
 |
 |
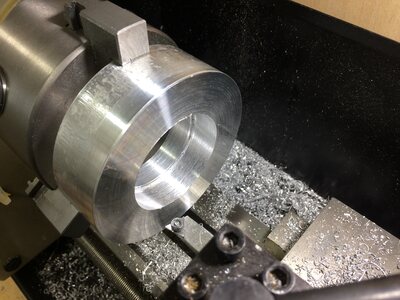
| さらに卓上旋盤によるレンズが挿入される内側の加工.Further machining of the inside where the lens is inserted using a bench-top lathe. |
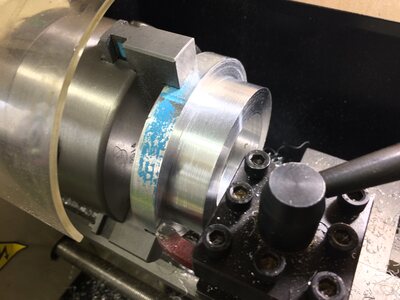
さらに顕微鏡架台に乗せる外側の加工.The outside of the lens is processed to be placed on the microscope stand. |
 |
|
| レンズに装着したところ.左がフォーカシング架台.
Focusing mount on the left. |
以前に作っていた3Dプリンタによるアダプタ.An adapter previously made by 3D printer. |
 |
 |
| EOSMに装着したレンズにアダプタをかぶせたところ. A lens mounted on EOSM with the adapter over it. |
完成したアダプタとカメラおよび架台. |
 |
 |
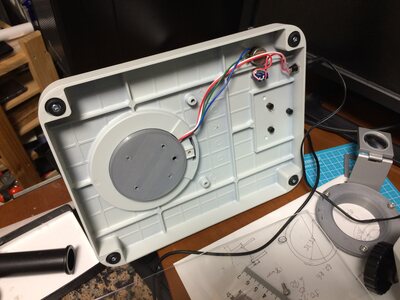
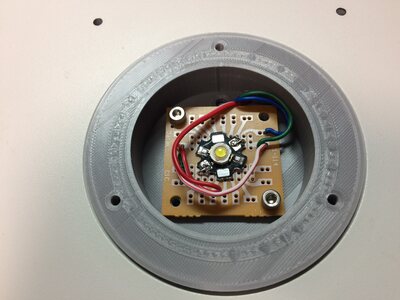
| こちらは架台底面にはめ込んだ自作白色LED照明.This is a home-made white LED light inserted in the bottom of the bench base. | 自作照明を上から見た図.LEDまわりの回路は下記を参考に.The circuit around the LED is shown below. http://yossi-okamoto.net/Seagull_Factory/Olympus/Olympus_index.html |